October 31, 2016

Day of The Dead Party Decor

This post was originally featured on the Stampin' Up! corporate blog.  


Hello friends!  October is here - leaves are changing, there's a chill in the air, and halloween is just around the corner.  Halloween is a favourite in our house, but maybe you're looking for something different.  I've got you covered today for a fun and festive party!  November 1st marks a Mexican holiday known as Dia De Los Muertos, or Day Of The Dead.  The day is marked to remember loved ones who have passed and help them on their spiritual journey to the afterlife; with that said, though, it is done in a bright, fabulous, festive way with lots of colour and a big party.

Sugar Skulls - a traditional symbol of Dia De Los Muertos - have majorly taken over halloween decorations in the last year or two, and the Mr. Funny Bones stamp set has a teeny tiny sugar skull in it...  It got my gears turning.  I decided to whip up a party theme based around Day Of The Dead decor - the bright colours, the bold sugar skulls - and it would be so much fun to bring to your next gathering!

Halloween doesn't have to be dark and spooky - why not make it bright, festive, and fun?


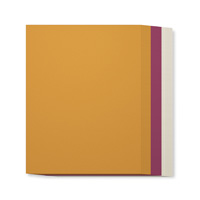
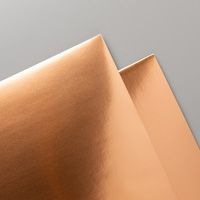
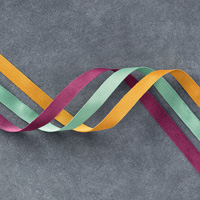
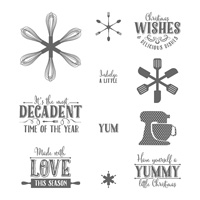
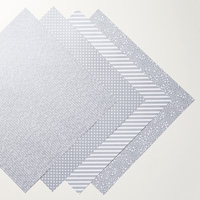
I started with a colour pallet - to me, there's no better way to go bright than with one of my all-time favourite colour combinations; Melon Mambo, Daffodil Delight, and Bermuda Bay.  A few touches of silver and black - in the Black Metallic Thread, Silver Glitter Ribbon, and Silver Glimmer Paper - added some bling.  Because no party is complete without bling!  And all of my stamps are from the fabulous Mr. Funny Bones stamp set from the 2016 Holiday Catalogue; that tiny sugar skull stamp inspired it all!


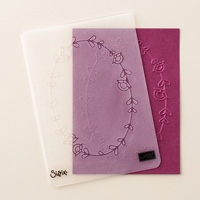
One of my favourite ways to add texture and dimension to a project is with Decorative Masks; this fabulous teardrop design is from the Seasonal collection, and it is perfect for halloween.  Doesn't it remind you of ghosts?


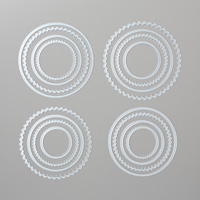
The Layering Circles Framelits collection were integral in creating each of the items in this suite - they were used for every single project!  The tiny scalloped edge in a contrasting colour makes for such a sharp frame, and these framelits do it perfectly in a variety of sizes.


I've used another of my favourite tricks throughout this collection as well - custom-made black embossing powder.  Simply stamp your image in Basic Black Archival Stamp Pad, colour with Clear Stampin' Emboss Powder, and heat set.  Voila!  A bright, shiny, crisp black image.


Thank you so much for joining me today - I hope Mr. Funny Bones has inspired YOU to change up your party decor this year!

Cheers,

Shannon Lane
Artisan Design Team 2015-2016
http://www.CrushOnColour.com


October 26, 2016

Hello December 2016

This post originally appeared on the Scrapbooking & Cards Today Blog.

Hello friends!  

It’s no secret that I’m a die-hard Project Life fan; it was a complete life-changer after my son was born and I had a million photos to scrapbook.  I went from completing a handful of layouts a year, to being fully caught up - from my high school years to present day - within three years.  Amazing, right?!  The system is so swift and efficient, but most of all, it’s still completely beautiful and allows full creative control.  
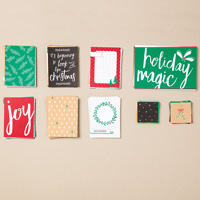
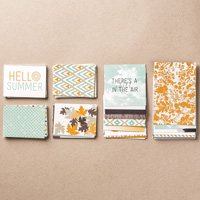
Whenever Stampin’ Up! comes out with a new catalog, their Project Life lineup is one of the first things I check out!  This year’s Holiday Catalog was no exception, and I was NOT disappointed by the Hello December 2016 card collection. 


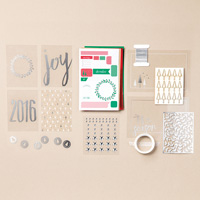
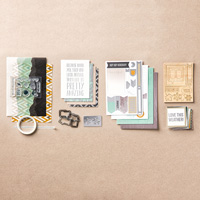
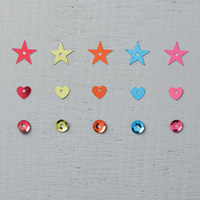
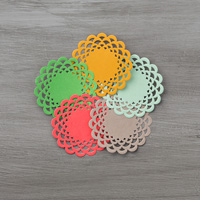
And if that’s not enough, each Project Life card collection comes with a coordinating accessory pack.  This is where the real swooning happens - embellishments and overlays and thread, oh my!  Even better, each accessory pack comes with a coordinating stamp set!  


The beauty of Project Life by Stampin’ Up! is that the kits are unbelievably versatile and truly perfect for every paper crafter.  As I mentioned, I love Project Life and memory keeping, so that’s an easy go-to for me.  Check it out. 


Project Life is as simple as slotting cards into spaces and journalling.  I encourage my son to journal; I think preserving his handwriting and thoughts in his own words is an important part of our family story!  

If you like to fancy it up a little, you can embellish the cards using the items in the accessory pack; a little bit of bling adds some flair and gives you even more creative control.  


But what if (gasp!) you don’t do Project Life?  These kits are still perfect for you.  Are you a cardmaker?  With the pre-cut cards in beautiful designs, plus coordinating embellishments AND a stamp set, you’ll be all set to go with the Hello December 2016 kit - your cards will whip up in a flash!  


Nothing is easier than when everything goes together, straight out of the box.


Maybe you’re more of a DIY-er?  One of my favourite Pinterest projects that I see come up at this time of year is the memory jar.  The concept is simple; together as a family, fill a jar with handwritten slips of your favourite memories from the year.  It’s a wonderful way to spend time together and have a beautiful keepsake at the end.  


The cards make this project extra simple - they literally just drop right in!  Other cards can be cut to write your memories on, and a bit of embellishing makes your keepsake a decorative piece for the holidays. 


As I’ve said, though, I’m a memory keeper through and through.  I love Project Life, but special photos will always need to be traditionally scrapbooked.  Isn’t it easy when everything is cut for you, though?  Traditional scrapbooking, meet Project Life.


The two of you make a beautiful pair!  


It’s so simple to create beautiful projects with these kits, no matter your papercrafting style!  

Thank you so much for stopping in today - I hope this has inspired you to use your Project Life kits in new ways, or if you’re a newbie, to bring Project Life into YOUR life!  

Cheers,

Shannon

October 19, 2016

Paisleys & Posies - Stampin' Up! Artisan Design Team Blog Hop


Hey friends!  It's our favourite day of the week - Artisan Blog Hop day!  We are cruising around the world sharing Paisleys & Posies today; unless you're starting here, you've come to me from beautiful Rachel in France, and you'll be off to see Steffi in Germany next, but for now - enjoy the stay in Canada with me, Shannon!

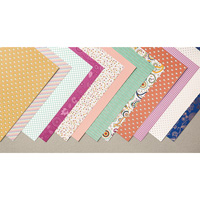
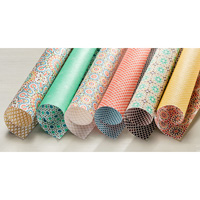
I have a total love affair with paisley, so this suite was right up my alley -  I was SO excited to see it arrive in our last box of products!  Paisley is so beautifully, quintessentially fall, and the colours in the DSP with this suite remind me of harvest season.  I wanted to bring that into my projects, but without using the DSP - I have other plans for that, and I'll be sharing it with you shortly!

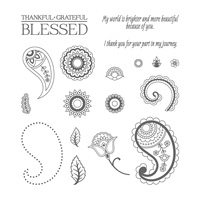
Lucky for me, though, the stamps in this set create a beautiful collage effect to create your own DSP.  And so that is the focus of my projects today - customized stamped paper!


The card really packs a punch with a large piece of that custom paper - I simply inked up one or two stamps in each of four colours and went to town.  It's so easy to make and provides a great focal point.  I embossed the background piece, and I love that just the edge of the border peeks out.  Such a nice little touch!  This card would be great for anyone, but especially nice around Thanksgiving - maybe for your host?  

While you're at it, what about a little gift for a friend or neighbour?


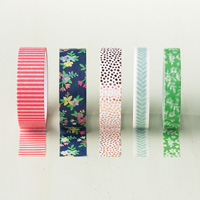
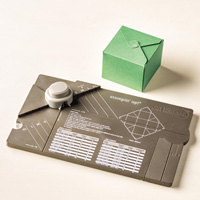
A gift box whips up in a flash with our Gift Box Punch Board (using the coordinating paper, of course) and a customized tag and beautiful box finish it off beautifully.  Don't hesitate to mask off portions of a sentiment with washi tape - you can remove words to get exactly what you're looking for, like this simple "thank you."

My garden and I bonded this summer, which means that fall has left me in the kitchen, canning up a storm.  A mason jar full of rich, purple beets looks even better with a matching tag.  I love the colours of autumn.


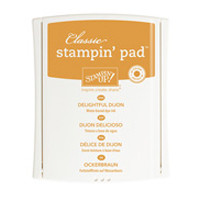
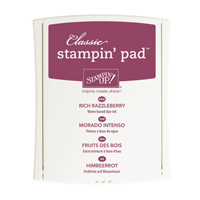
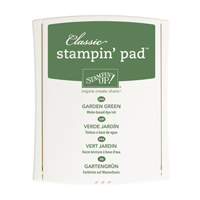
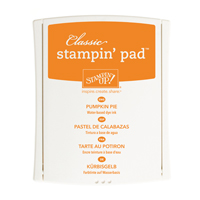
Garden Green, Delightful Dijon, Pumpkin Pie, and Rich Razzleberry with a touch of Copper are so lovely and so seasonal.  


I hope you enjoyed today's projects - now click the button below to go see what Steffi has been up to! 


Have a great week!

Cheers,
Shannon

October 16, 2016

Back To School... For The Very First Time!

Hello friends!

Holy moly, this girl needs to get her life together!  The last few weeks have been a struggle to keep my head screwed on straight.  Too much happening all at once and I'm not up to snuff to take it all on!  And yes, that relates to these projects... I promise.

I mentioned a while ago that my baby boy (my one and only child!) started school this year; we are almost two months in and he is loving every single day.  The dude is totally in his element.  He raves to me at pick-up each day about how much fun he's having and what he's learned.  It's so wonderful.

I took a few pictures on the first day of school - just snapped with my cell phone - and with my fabulous Selphy printer, I was able to print them off in minutes without leaving my house and get working on a scrapbook page and a Project Life page.  And then I set them aside and saved them, because I thought they'd be perfect for our October Artisan Design Team blog hop.  You know, the one I had already submitted projects for?  And I didn't realize that until about two days ago?  SIGH.  Seriously.  I need to get my life together.  (That blog hop is coming on Wednesday night, by the way!) 

So without further adieu, since these projects don't have a home, I may as well share them today!  


I whipped these up with the All Year Long Project Life kit.  But that's not a Project Life page!  Yeah, I know... I'm not THAT confused!  I love using PL kits and cards for traditional scrapbooking, too.  They're colour-coordinated, they're pre-cut, and they have matching embellishments.  It doesn't get any easier than that!

A little boy's first day of school deserves a special layout.  I love slotting traditional pages into my Project Life albums - they're a nice focus and a great break for the eyes.


But for all of those extra photos - Project Life is where it's at!


And I can add a bit of journalling, of course.  This was a pretty big day in our lives, after all!


Thanks for stopping by today - I'm off to my craft room to get next month's Artisan project done... for real this time!  Oi!

Cheers,
Shannon